
Flooring & tile
How to tile a bathroom floor
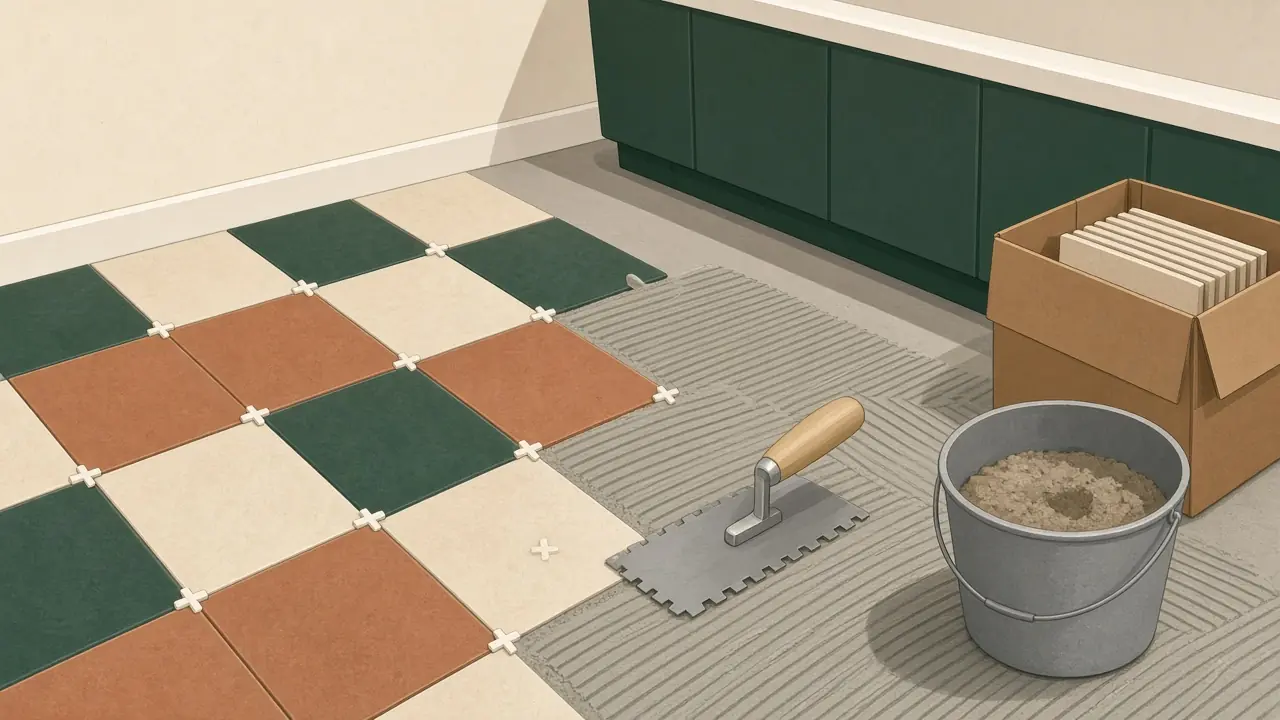
Most failed tile floors don’t fail because of the tile. The floor underneath bends too much or isn’t flat. This guide follows the US tile industry standards (the TCNA Handbook and ANSI A108) for a typical bathroom on a wood-framed floor. Always follow the instructions for the specific backer board, membrane, thinset and grout you buy. Those govern your warranty.
Before you start. Pulling the toilet means shutting off its supply and disconnecting it. Plumbing changes, and anything involving electrical work or a heated floor’s wiring, may need a licensed pro and a permit where you live. Cutting tile makes silica dust: OSHA calls for water at the blade or dust collection, which a wet saw provides. Thinset and grout contain cement, so wear gloves.
1. Work out quantities
Measure the floor and subtract the vanity footprint if you’re not tiling under it. Then run the tile calculator. Allow about 10% extra for a straight layout or 15% for diagonal, buy every box from the same lot, and keep a spare box.
2. Check the floor: stiffness and flatness
- Stiffness (deflection). For ceramic and porcelain over wood framing, TCNA says the floor must not deflect more than L/360 of the span. Natural stone needs L/720, twice as stiff. Bouncy floors crack grout and tile. If yours flexes when you walk on it, it needs structural attention first.
- Flatness (ANSI A108.02). For tile with every edge under 15 in, the floor should be within ¼ in over 10 ft and 1/16 in over 12 in. For tile with any edge 15 in or longer, it should be within 1/8 in over 10 ft and 1/16 in over 24 in. Check with a long straightedge, then grind high spots and fill low ones with a patching or self-leveling product made for the purpose.
3. Install backer board (or a membrane)
Backer board is a bonding surface. It doesn’t add stiffness. Following HardieBacker’s instructions as an example:
- Use ¼ in board on floors over at least 5/8 in exterior-grade plywood subfloor.
- Set the board in a bed of thinset spread with a ¼ in square-notch trowel.
- Fasten with 1¼ in backer-board screws every 8 in across the whole sheet, keeping them 3/8–3/4 in from the edges and 2 in from the corners.
- Stagger the joints, leave a 1/8 in gap between sheets, then tape and thinset the seams.
Uncoupling membranes are an alternative with their own rules. Follow the maker’s sheet.
4. Lay out from the middle
- Snap two perpendicular lines through the center of the room, square to the most visible wall (usually the doorway or the tub).
- Dry-lay a row of tiles with spacers along each line. Shift the lines so you don’t end up with slivers under half a tile at the doorway or along the tub.
- Plan your last tiles so you finish at the door, not trapped in a corner.
5. Set the tile
- Mix thinset to the bag’s water ratio and let it slake if the bag says so.
- Spread a small area with the notch size your thinset and tile size call for. Comb in one direction.
- Press each tile in with a slight slide across the ridges. Lift one now and then to check coverage on the back. Gaps mean you need a bigger notch, or to back-butter the tile.
- Keep joints even with spacers. Clean thinset out of the joints before it hardens.
- Leave a gap at the walls and around the tub, hidden under baseboard or filled with flexible sealant. Don’t grout tight to walls.
6. Grout and seal
- Remove the spacers, then pack grout diagonally across the joints with a rubber float.
- Wipe off the haze with a damp sponge once the grout firms, rinsing the sponge often.
- Use flexible caulk, not grout, at changes of plane: along the tub, at the walls and around the toilet flange.
- Seal cement grout if its maker recommends it.
Sources
- Tile Council of North America, FAQ: Deflection (L/360 ceramic, L/720 stone).
- CTASC / Stone World, How to define large-format tile and its subfloor requirements (ANSI A108.02 flatness).
- James Hardie, HardieBacker installation guide (HB1710).
- CUSTOM Building Products, Polyblend Plus sanded grout (coverage used by the tile calculator).
- OSHA, Respirable crystalline silica in construction.
Questions worth answering
Can I tile directly over plywood?
Not with ordinary thinset. TCNA methods for tile over wood framing use a bonding layer, such as cement backer board or an uncoupling membrane, over the right subfloor. Follow the installation instructions for whichever product you choose.
Can I tile over old vinyl or old tile?
Sometimes, but it depends on the product's instructions, the floor height at doors and the toilet flange, and whether the old floor is fully bonded. Removing it is usually the more predictable route.
How long before I can grout and use the floor?
Follow the thinset and grout bags. Cure times vary with the product and with temperature.